Warhounds Difficulty Settings
Pick a challenge level that matches your ballistics patience.
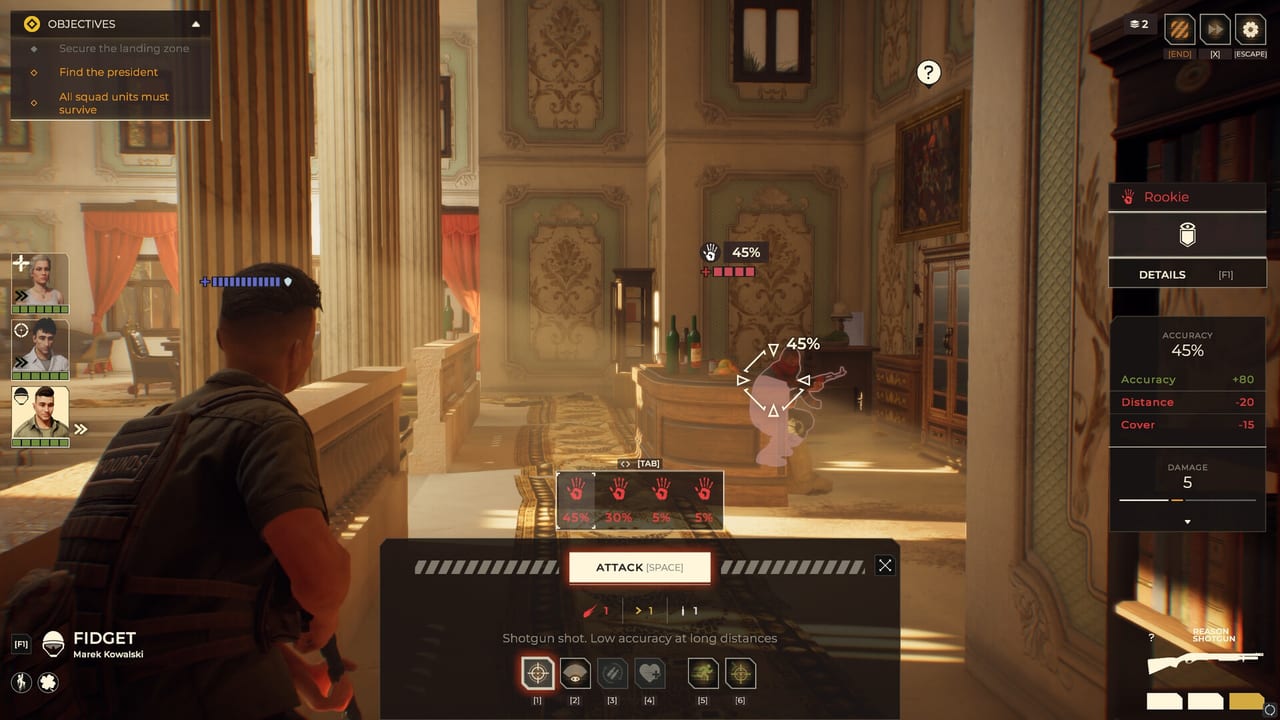
Warhounds lets you set your own pace. Official messaging describes everything from a light, relaxing run to brutal tactical hell, with typical missions often landing around 25–40 minutes. This page helps you choose difficulty honestly for the single-player Steam campaign and explains how that choice rewrites loadouts, recruitment, and veteran risk.
Use it with squad loadouts and class builds. If your roster is the real problem, fix recruitment before you blame the slider.
What difficulty changes in practice
Exact menu labels can vary, but the player-facing effect cluster is consistent with the pitch:
- Enemy severity and forgiveness — how hard mispositioning is punished.
- Resource pressure — whether sloppy ammo and medical habits still clear the week.
- Intel demands — whether blind corners are survivable curiosity or instant funerals.
- Tone — cinematic mercenary fantasy versus tense PMC accounting.
Warhounds still uses readable ballistics rather than cartoon point-blank nonsense. Higher difficulty does not mean “the UI lies more.” It means your respect for cones, cover, and first shots must rise.
Choosing a starting difficulty
Pick a lighter setting if:
- You are new to turn-based tactics.
- You want to meet veterans and story scenes without constant reloads.
- You are learning how destructible cover and overwatch cones feel.
- You plan to experiment with Grenadier collateral and weird kits.
Pick a middle setting if:
- You know XCOM or Jagged Alliance habits already.
- You want failure to be possible but not constant.
- You are comfortable running scanners and smoke as defaults.
Pick tactical hell / max challenge if:
- You enjoy iron discipline and bench management.
- You accept that veterans can die because you got cocky.
- You will actually use the checklists on this Tools hub every deploy.
There is no purity prize for suffering. There is only the campaign you finish.
Difficulty and loadouts
On lighter settings, Template A from squad loadouts can limp with one missing gadget. On higher settings, the universal checklist becomes mandatory: scanners, smoke, extract plan, and no veteran door-kicks into fog.
Class builds also tighten:
- Specialist utility becomes non-negotiable.
- Assault greed gets punished faster.
- Sniper perch safety matters more than highlight shots.
- Machine Gunner cones must face the real approach.
- Grenadier ammo must be budgeted, not vibes-based.
Difficulty and recruitment
Higher difficulty raises the value of a deep bench. You will burn med time. You will want spare Assault/Specialist coverage. Read veterans so you do not spend your story cast as scouts. Read recruitment so wages and meds stay solvent.
On lighter difficulty, you can run a smaller barracks and still learn systems. That is a valid onboarding path—just do not carry tiny-barracks habits into hell without upgrading them.
Difficulty and tier lists
Our class tier list, weapon tier list, and gadget tier list are early/mid opinions, not fake absolutes. On max difficulty, S-tier scanners and smoke become even more “S,” while novelty C-tier toys become even more trap buys. On low difficulty, B-tier experiments are safer tuition.
When to change difficulty mid campaign
Lower it if you are stuck repeating the same contract and no longer learning—only resenting. Raise it if every mission feels like a parade and you want tighter packing discipline. Avoid yo-yoing every other mission; give a setting at least a handful of contracts so your barracks economy can adapt.
If the game offers granular sliders rather than one preset, change one lever at a time: enemy pressure first, economy second, optional iron rules last.
Session-length honesty
A 25–40 minute mission on hell settings can become longer if you think for two minutes every turn. That is fine. Schedule sessions so you are not speed-clicking extract while tired. Most “difficulty is unfair” moments happen at midnight with empty smoke pouches.
Pre-campaign difficulty checklist
- I know whether I want story-first or discipline-first
- I have a default four-operator template ready
- I will fund scanners/smoke before vanity guns on higher settings
- I accept veteran death risk at this level
- I know how to bench injured operators
- I will revisit this page after the first brutal loss
After-action difficulty checklist
- Did I lose because the slider was high, or because the checklist failed?
- Would one gadget have saved the wipe?
- Was a veteran doing a recruit’s job?
- Do I need more bench depth before retrying?
- Should I lower difficulty, or raise preparation?
Answer those before you restart the whole campaign in anger.
Platform note
This guide targets the Windows Steam release. Planned console editions may arrive later; use the same philosophy there when ports land. multiplayer is not part of the current single-player design, so difficulty is entirely your contract with yourself.
Return to the Tools Hub for packing pages, or to the Operators Hub if the human (and mercenary) factors are the real difficulty.
The correct Warhounds difficulty is the one where each honest bullet still teaches you something—and where you still want to launch the next contract tomorrow.
Frequently Asked Questions
Quick answers to the most common questions.
Does Warhounds have adjustable difficulty?
Yes. The game promotes customizing challenge from a lighter experience to brutal tactical hell.
Should beginners start on the hardest setting?
Usually no. Learn ballistics, cones, and scanners on a fair setting, then raise challenge if you want.
Does higher difficulty make guns inaccurate on purpose?
Warhounds emphasizes readable ballistics. Higher difficulty raises punishment for bad plans more than UI dishonesty.
What should I change first after constant wipes?
Fix loadout checklists and bench depth before lowering difficulty—then lower it if you still are not learning.